WPBakery lets you save any element you’ve customized as a reusable preset. For example, if you insert a Heading element and change its font size, color, background and other settings, you can save it as a custom element. The next time you need a heading with the same design, you can insert your saved version instead of reconfiguring every option from scratch.
Saving an Element as a Preset
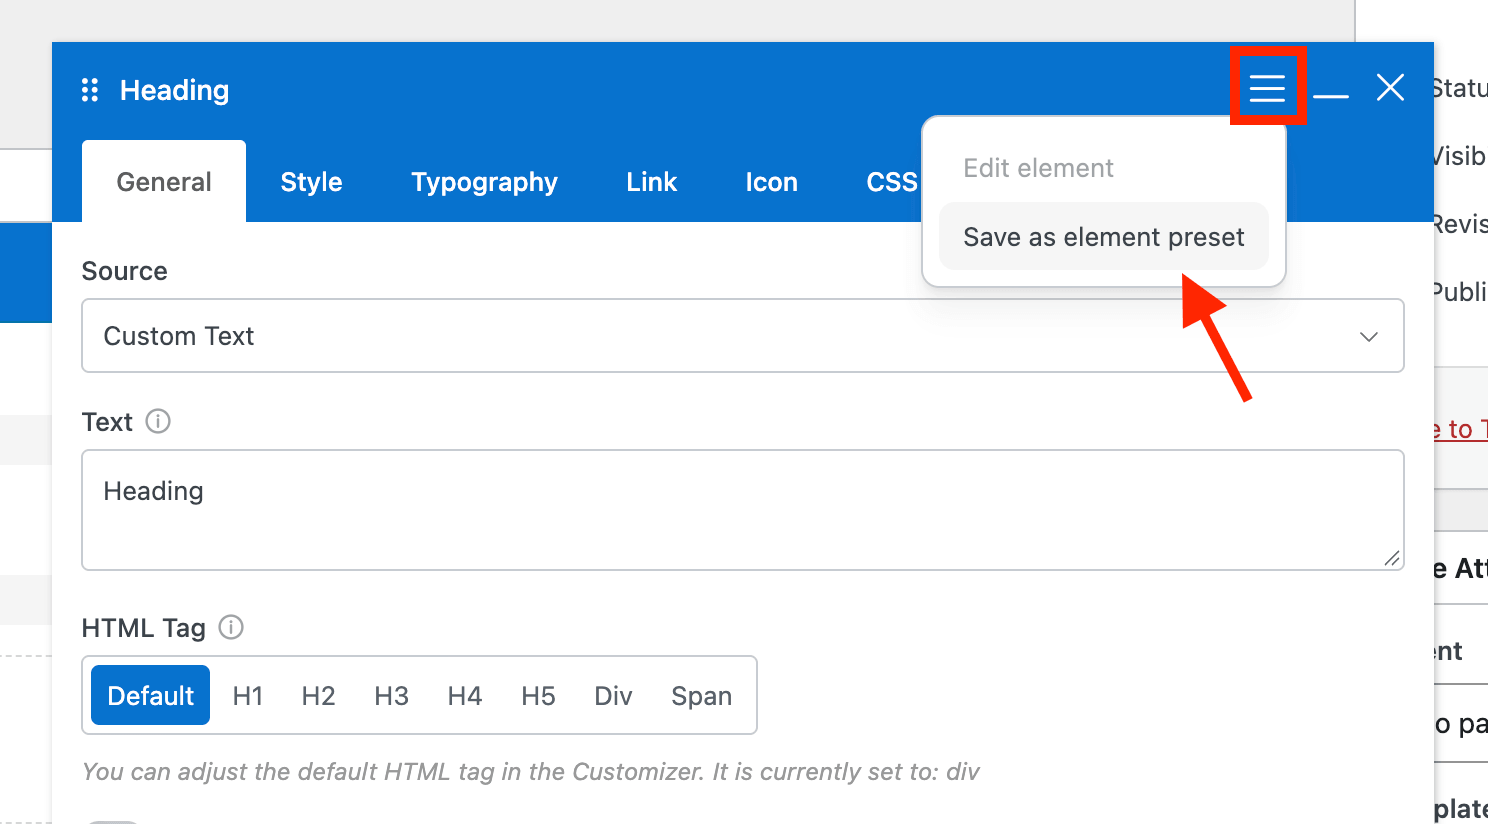
After customizing an element, open its settings panel and click the gear icon in the top right corner (top left for RTL sites), then select the option to save it as a new element.
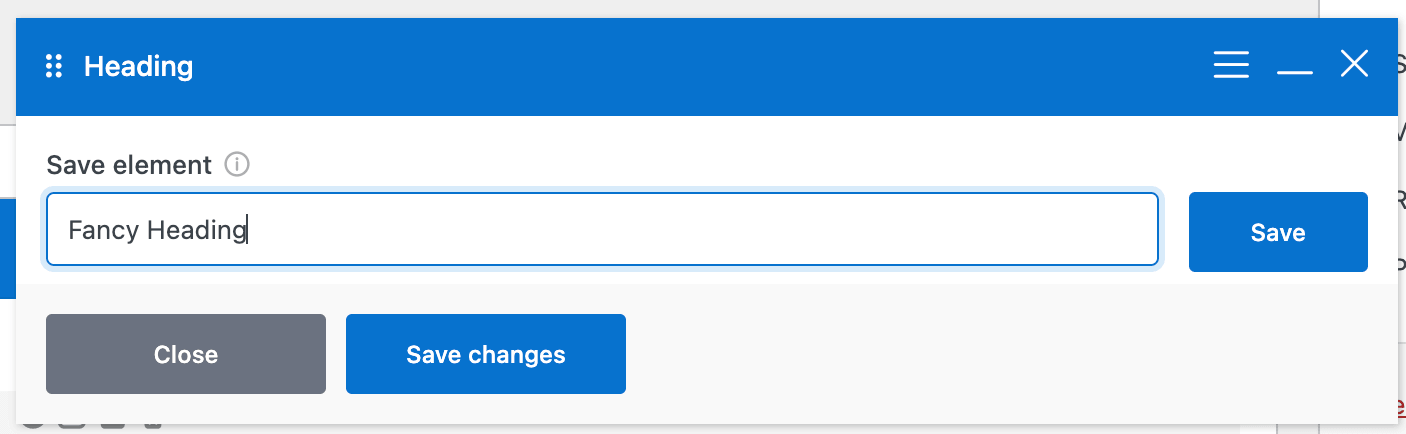
Enter a descriptive name for your preset so it’s easy to find later, then save it.
Inserting a Saved Element
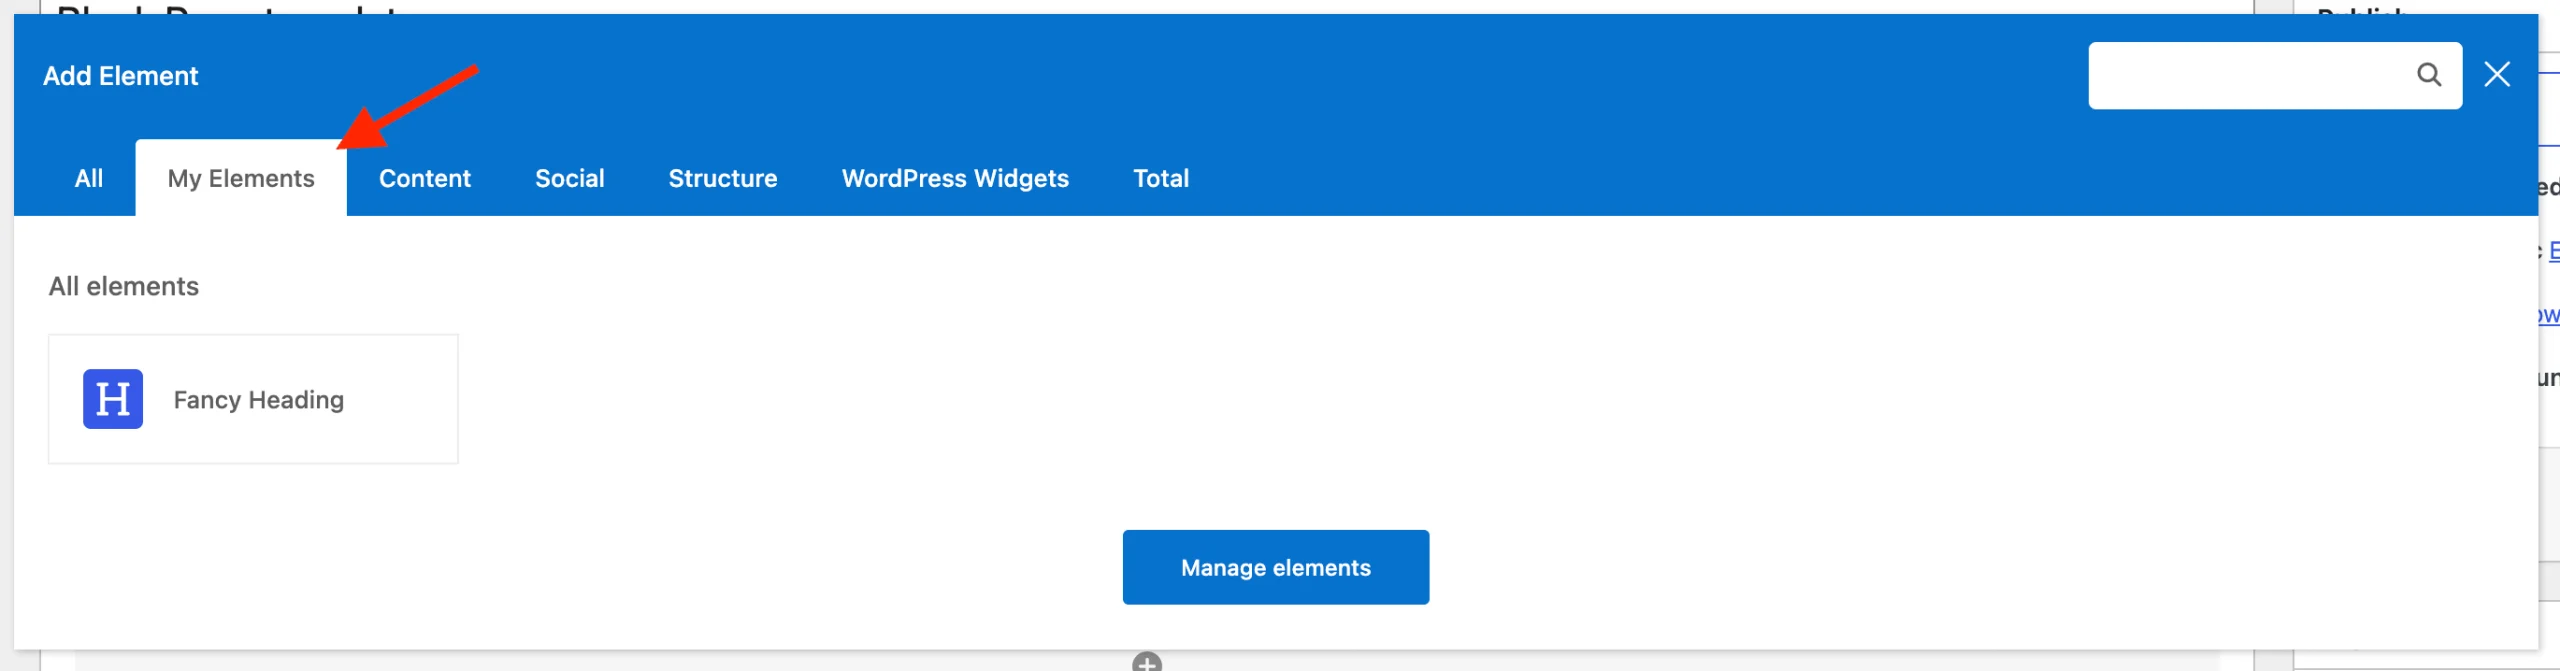
Whenever you add a new element, click the “My Elements” tab in the Add Element window to view and insert any of your saved presets.
Important: Presets Are Not Global
A saved element is only a starting point. When you insert it, WPBakery copies the saved settings into a brand new element, and that element has no connection to the preset afterward. This means:
- Changing an element you inserted from a preset will not update the preset or any other elements created from it.
- Saving a new version of a preset will only affect elements you insert from that point on. Elements already on your pages will keep their original settings and must be updated manually.
If you need a design you can change site-wide from one place, give your elements a custom class using the “Extra class name” field and style that class with CSS instead. Updating the CSS will then affect every element using that class.