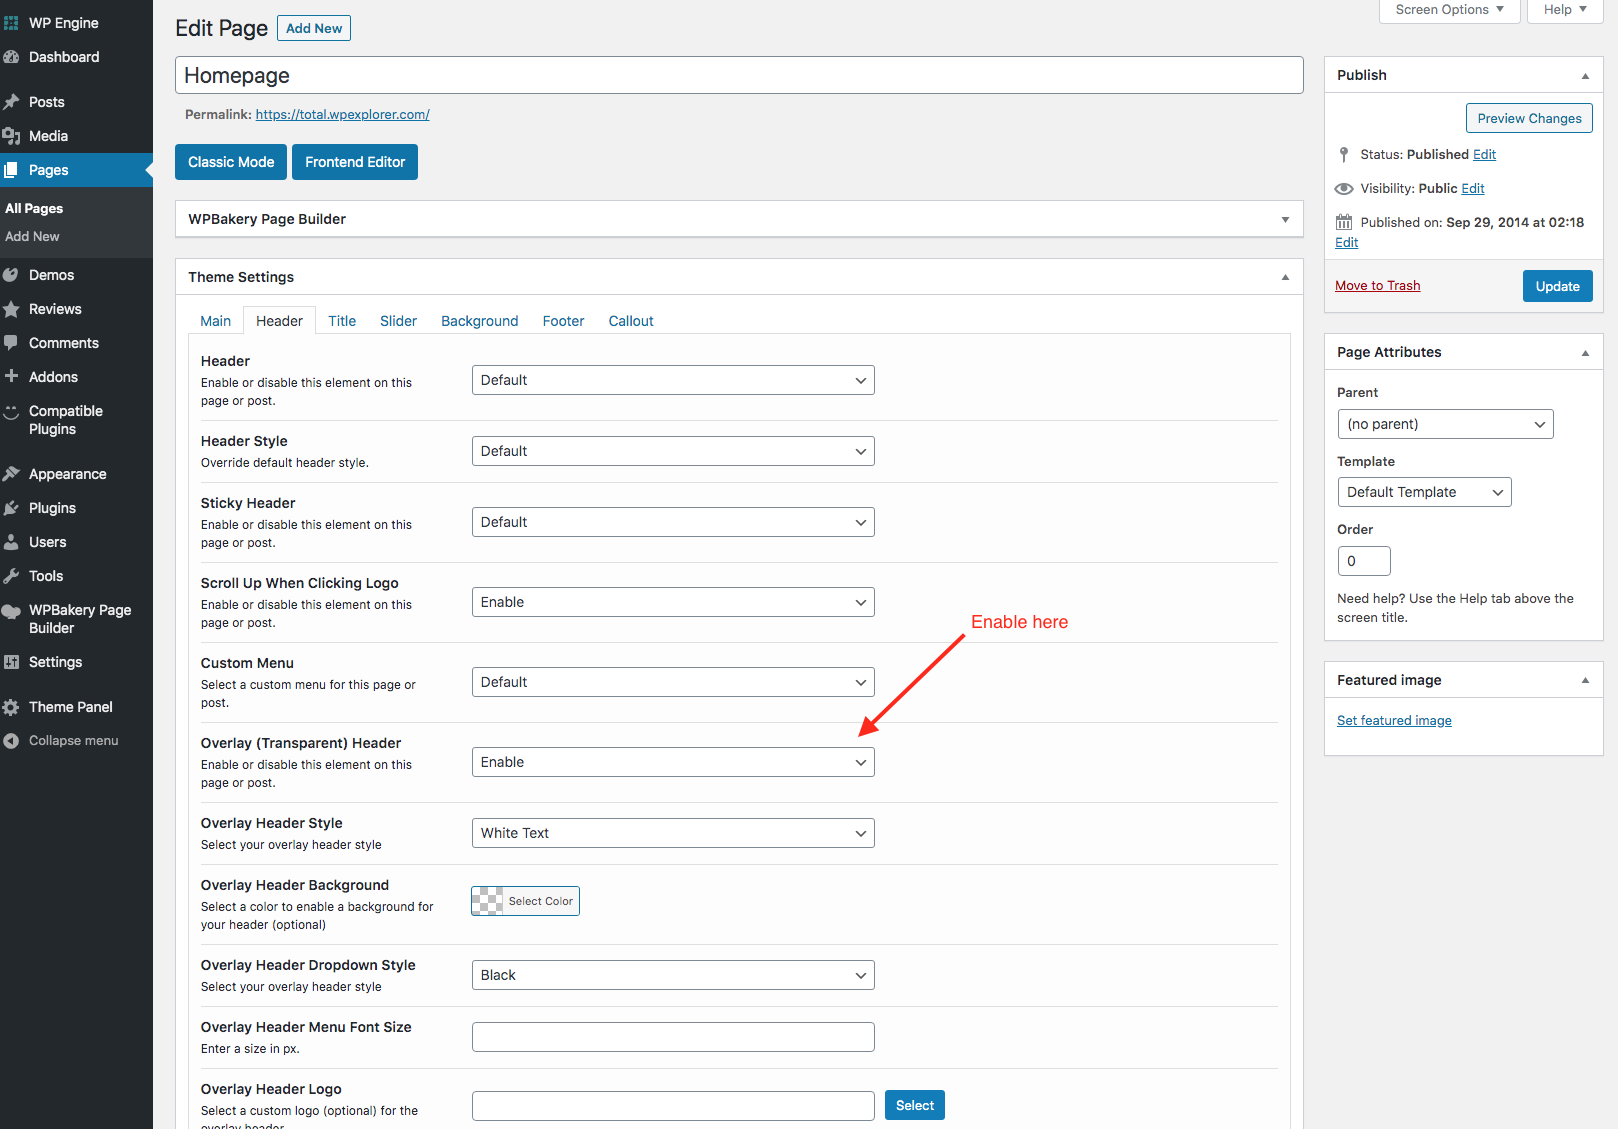
The “Transparent Header” (also referred to as “Overlay Header”) in Total allows you to position whatever is at the top of your page under the main header (which will be transparent) so you can create some cool unique layouts. This function can be enabled Globally or on a per-post/page basis.
When you enable the Transparent Header, your header will be placed in an absolute position at the top of the site so any content below it can be seeing behind the header. So you will of course want to setup your site (if enabled Globally) or pages to have something behind the header so that it looks good
Enable Globally
You can enable the Transparent Header globally by going to Appearance > Customize > Header > Transparent Header in the Customizer.
Once enabled, you’ll notice that everything previously positioned below the header now appears underneath it. To make it look good, you have three options:
- Create a template with content you want displayed under the header – this could be a row with a background and dynamic modules, like the Page Title module. You can select the template to display beneath the header in the same Customizer tab.
- Adjust the Page Header title to use a background image style so it visually complements the transparent header.
- Edit each page to insert the unique content you want displayed beneath the header – this is fine for smaller sites.
Enable for Specific Parts of Your Site
It’s also possible to enable the Transparent header for only specific parts of your site, for example the Bolt demo uses the Transparent header for the blog posts (example).
This can be done by enabling it Globally in the Customizer then using the Conditional Logic field to define when the header should be transparent.

Enable on Specific Pages
You can enable the Transparent Header on a specific post or page using the Theme Settings metabox. This method is useful when you want to manually control which pages display the transparent header, without needing to update the conditional logic in the Customizer every time.
