The newsletter widget and element included with the theme were originally added many years ago, at a time when most email marketing services didn’t offer their own form builders. Back then, including a basic newsletter signup feature directly in the theme made sense.
Today, however, most modern newsletter platforms, like Mailchimp, Kit, MailerLite and others, provide powerful, customizable form builders and embed codes. These tools offer better design flexibility, improved performance tracking, and more reliable integration with your mailing list.
Including full API integrations for every newsletter service directly in the theme would not only bloat the theme but could also introduce unnecessary security risks. Using the official embed code from your provider is the most efficient and secure approach.
AWeber is a great newsletter service which we highly recommend and it’s very easy to integrate with the theme’s Newsletter Form element. Here is a link to the AWeber documentation (just incase things change and the instructions below are outdated).
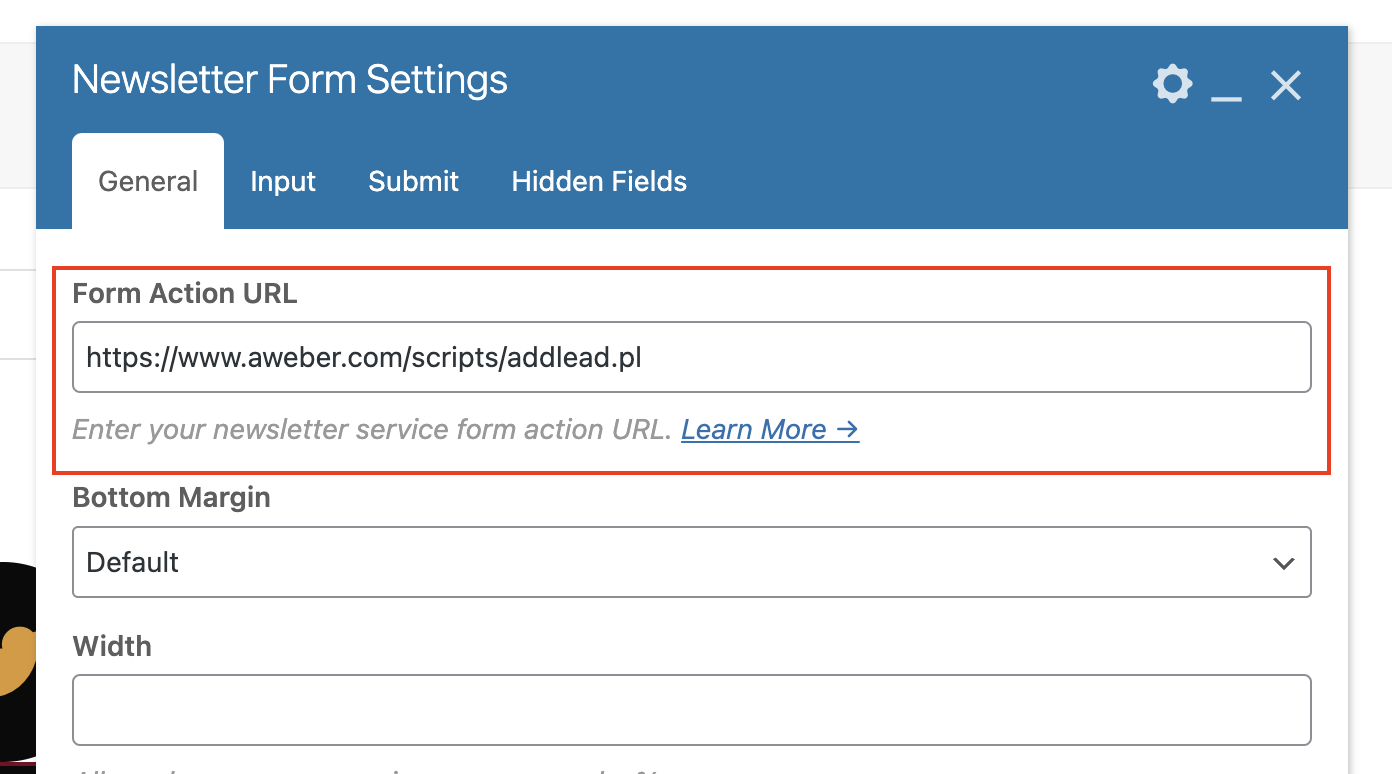
Step 1: Add The Form Action URL
AWeber uses a global URL for the form action “” which you will need to add to the Newsletter Element like such:
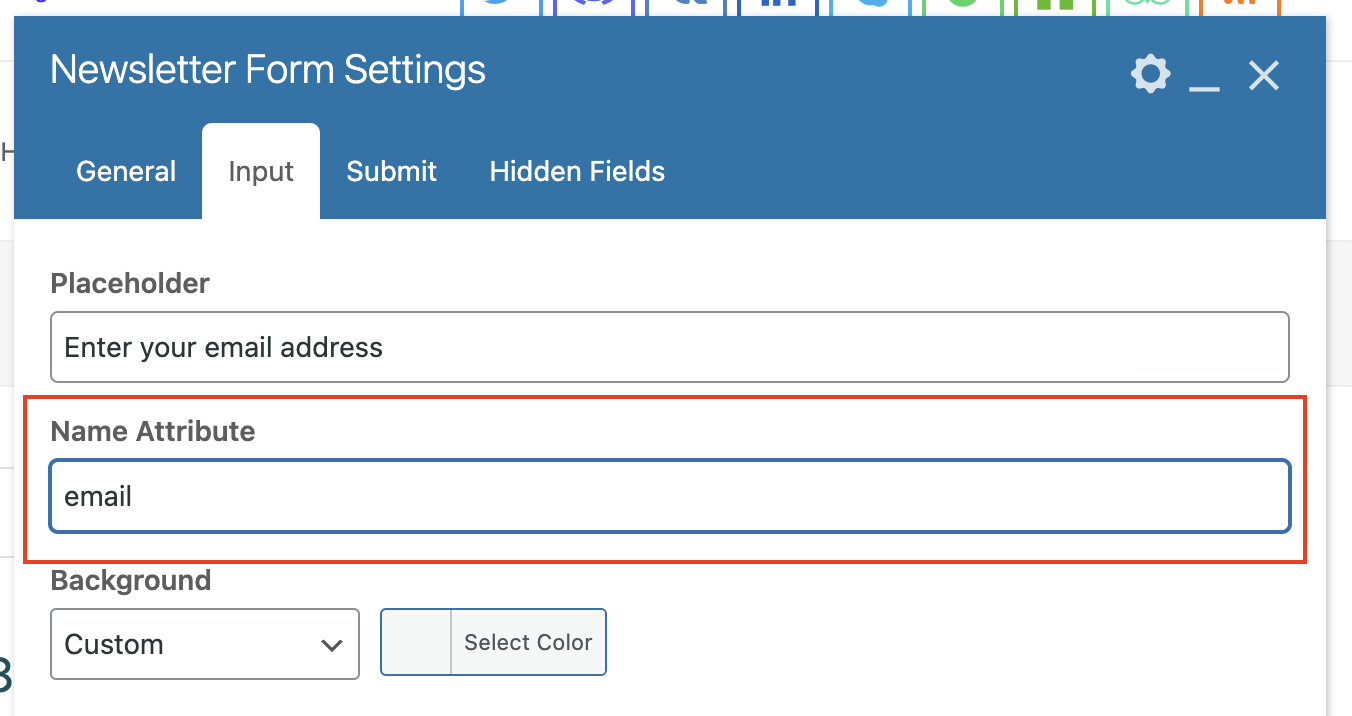
Step 2: Update The Name Attribute Field
In order for the form to work properly with AWeber you need to change the email input name attribute to be lowercase.
Step 3: Add Hidden Fields
In order for the form to work with AWeber you will need to also add in some hidden fields, the most important hidden field being the listname which would be added to the hidden fields setting using the format listname|YOUR_LIST_ID
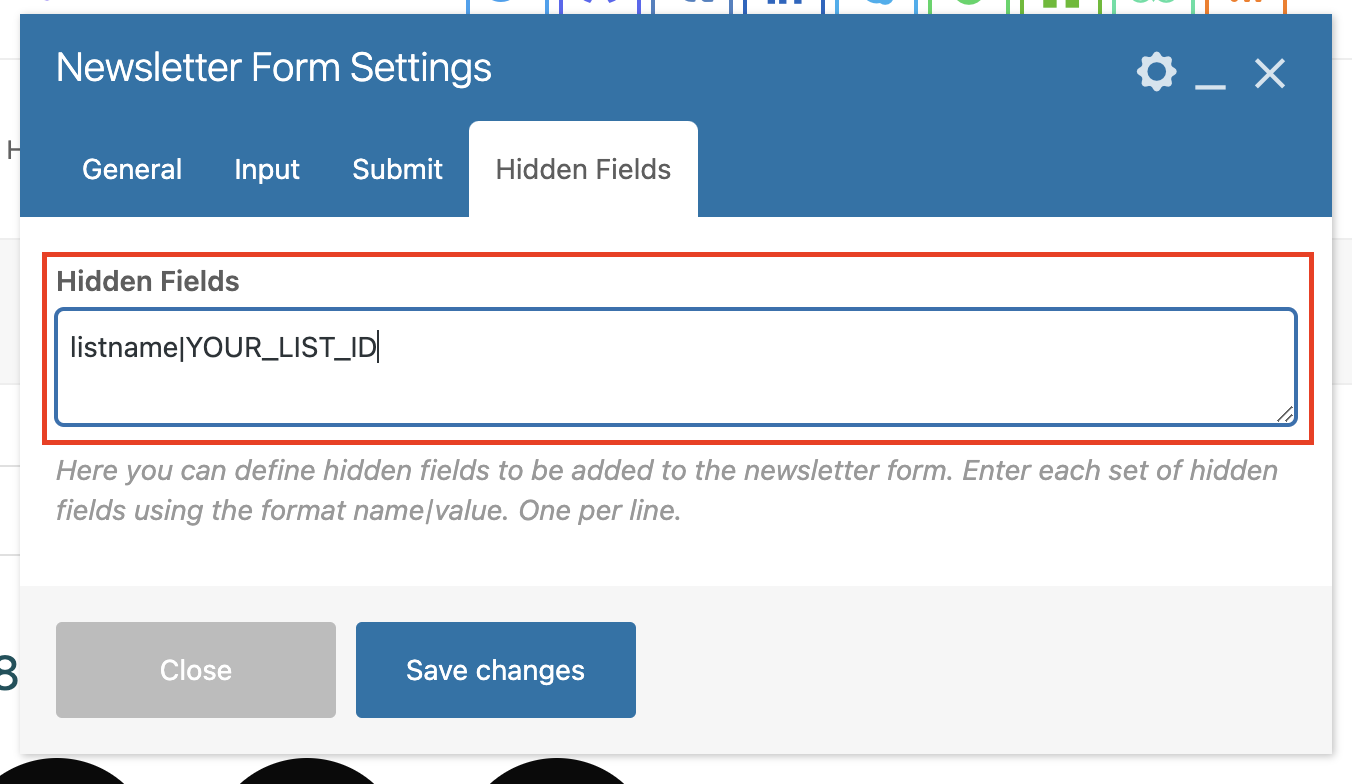
Make sure to change “YOUR_LIST_ID” to your actual list ID. Please refer to the AWeber documentation (link at the top of this article) for all the hidden fields you can use.