Custom Fields are a way to assign post specific data in WordPress. These, can then be displayed in your dynamic templates and/or custom cards. Many designers choose to use custom fields as the primary way to structure their client sites.
A WordPress site structured around custom fields offers a user-friendly and intuitive interface for clients. When editing a post, particularly custom post types, clients can easily fill out the provided fields without having to navigate a page builder or, even more frustrating, Gutenberg.
There are 2 ways you can register custom fields in the Total theme; using a plugin or via the built-in PHP class. In this article I will first go over which plugin I recommend (ACF)
TL;DR: Download, install and use the Advanced Custom Fields plugin or use the built-in PHP class to add fields with custom code.
Recommended Custom Field Plugin: ACF
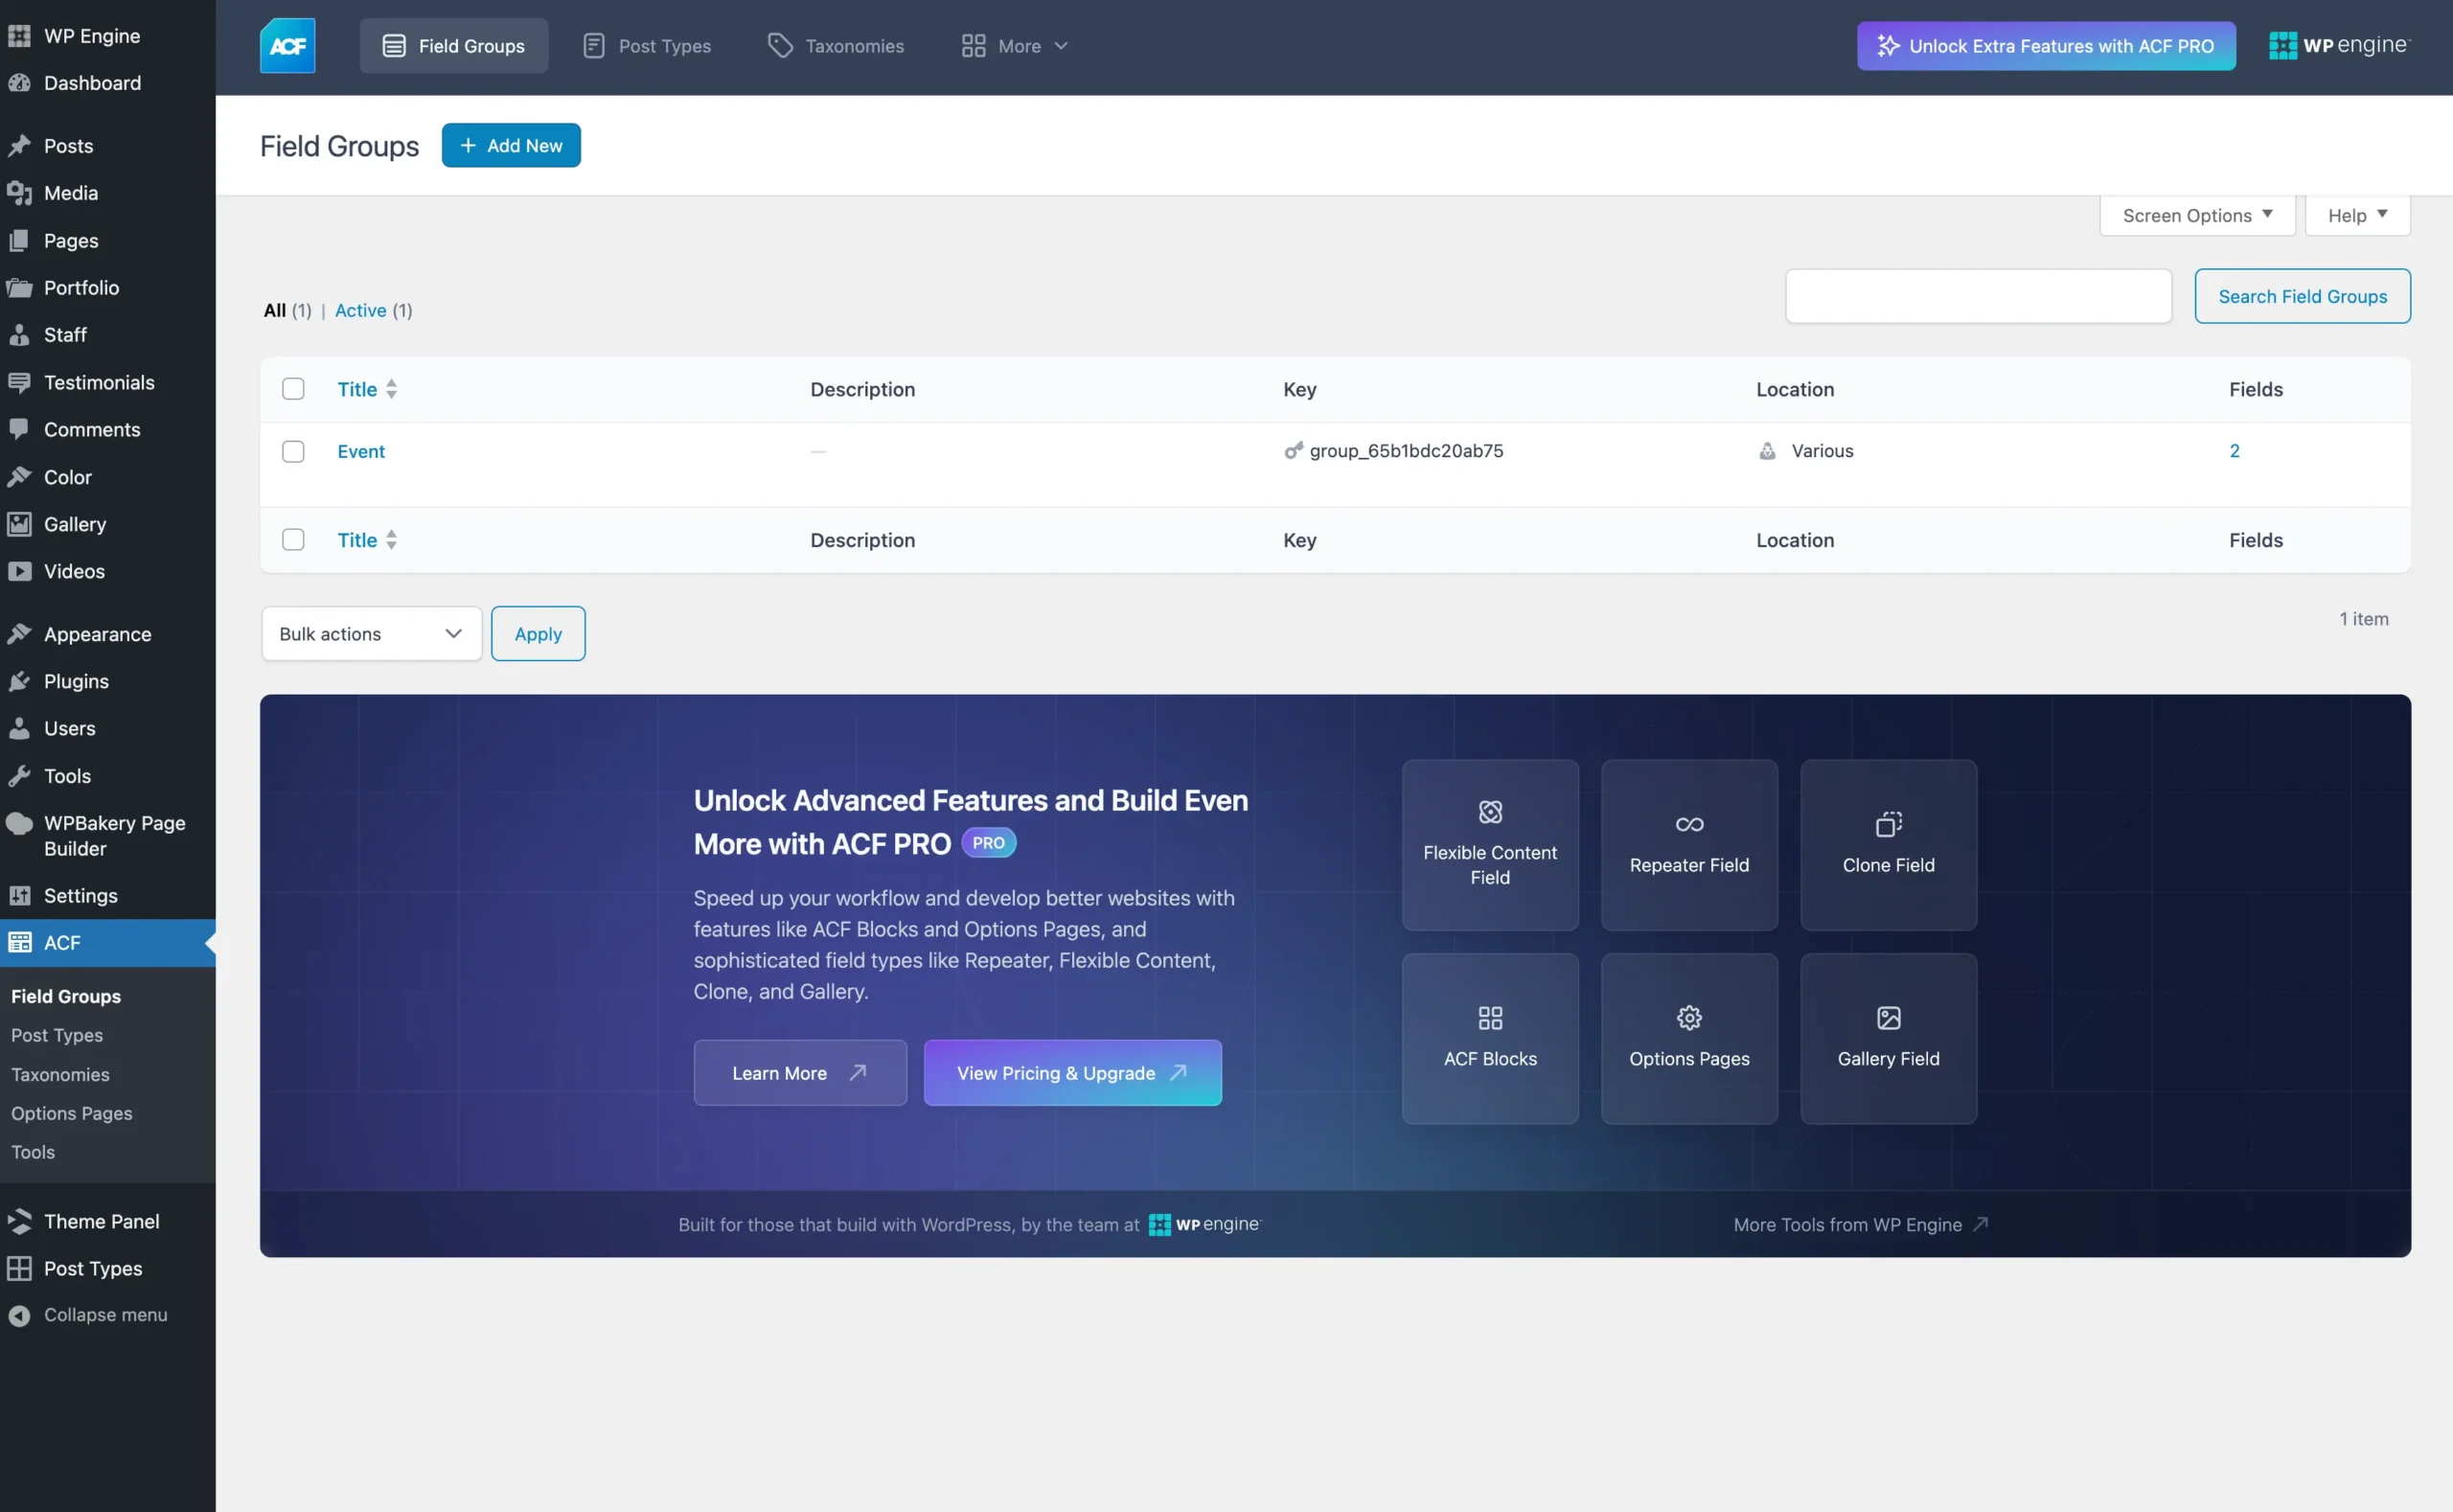
The only plugin I personally recommend for adding custom fields is going to be the Advanced Custom Fields Plugin (ACF) – this plugin is entirely free, although the Pro version offers some amazing extended functionality.
ACF is managed and developed by WPEngine which is one of the best WordPress hosting companies out there and we actually use their hosting ourselves. They are a well known and reputable brand in the WordPress space. This means, the plugin is unlikely to be abandoned and should receive continual updates and support.
And using Advanced Custom Fields is extremely easy, it adds a whole UI to your WP admin where you can easily add custom fields to your posts, pages, taxonomies and even create a custom theme panel with extra settings for your site.
Using ACF Fields in Total Elements
Total offers seamless integration with Advanced Custom Fields (ACF) in various ways. One of the standout features is the ability to select your registered fields when working with theme elements. Here is a sample screenshot from the Image element when set to display an image assigned via a custom field:
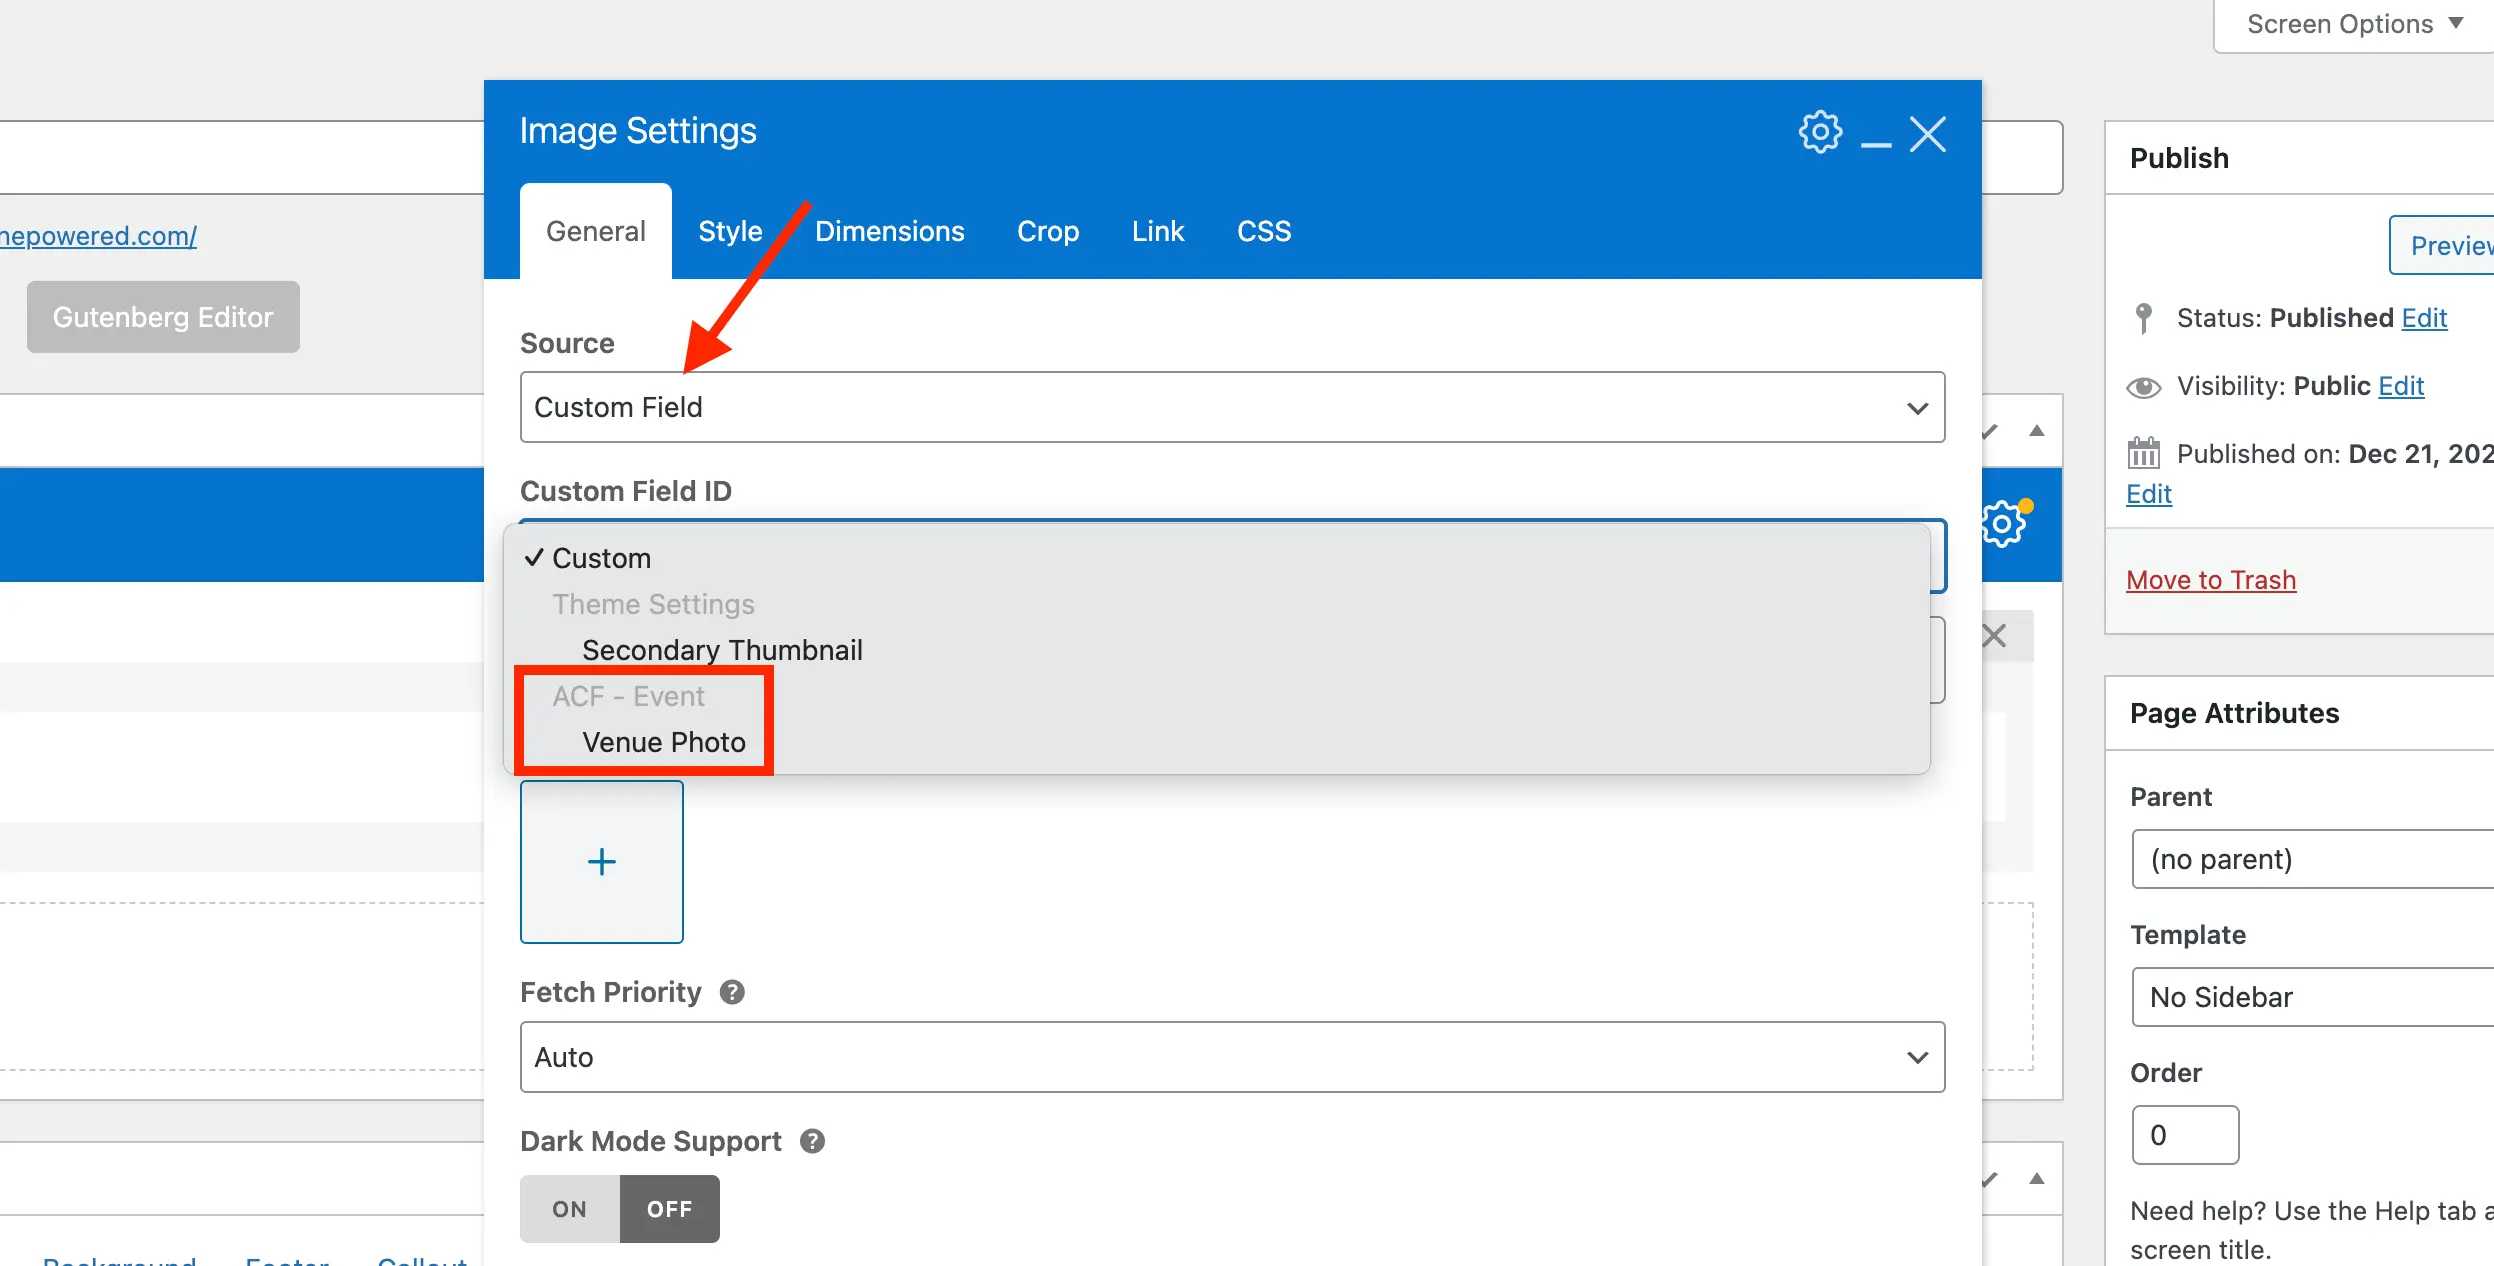
This makes it simple to incorporate custom field data directly into your page layouts.
Benefits of using ACF
Here are some of the reasons why you would want to use ACF over other solutions for implementing custom fields:
- User-friendly UI for easily adding and managing your fields.
- Ability to assign fields to pages, posts and taxonomies.
- Easily select your custom fields in theme elements; no need to remember all your field names.
- Built-in support for advanced fields: gallery, relationship & repeater fields.
Do You Need ACF Pro?
ACF Free has everything most customers will need so you don’t necessarily need the pro version. However, it includes some additional fields that can be very useful. The most impactful Pro feature is probably the repeater field.
With the repeater field you can create repeating content – for example, if you’re building a staff or team directory, you might need to repeat the structure for each team member. The repeater field can hold details like name, position, bio, and social media links for every staff member, and it can be repeated as needed. You can display the ACF repeater field data using the Total’s exclusive ACF Repeater Template element.
By the way, we are currently not an affiliate of ACF (I don’t think they even have an affiliate program). We recommend ACF Pro because it’s awesome.
Custom Fields Built-in PHP Class
If all you need is to add custom fields to posts or pages and you rather not use a plugin, Total has a handy PHP class that can be used instead. This will allow you to register custom fields via your child theme.
Below is an example of how you can use the class:
/**
 * Register custom fields.
 */
function my_register_custom_metaboxes() {
    if ( ! class_exists( 'WPEX_Meta_Factory' ) || ! is_admin() ) {
        return;
    }

    new WPEX_Meta_Factory( array(
        'id'       => 'YOUR_UNIQUE_METABOX_ID',
        'title'    => esc_html__( 'Metabox Title', 'text_domain' ),
        'screen'   => array( 'post', 'page', 'portfolio' ), //post types to add the metabox to
        'context'  => 'normal',
        'priority' => 'default',
        // @important since Total Theme Core v1.7.1 you can now pass a function that returns the fields to prevent
        // the fields from being stored in memory and so they are only called when needed.
        'fields'   => array(
			// Select Field
            array(
                'name' => esc_html__( 'Select example', 'text_domain' ),
				'desc' => esc_html__( 'Custom description if needed', 'text_domain' ),
                'id'   => 'YOUR_UNIQUE_CUSTOM_FIELD_NAME',
                'type' => 'select',
                'public' => true, // display in WPBakery custom field select
                'choices' => array(
                    '' => esc_html__( 'Choice 1', 'text_domain' ),
                    'option-2' => esc_html__( 'Choice 2', 'text_domain' ),
                ),
            ),
			// Button Group Field
			array(
                'name' => esc_html__( 'Button Select example', 'text_domain' ),
                'id'   => 'YOUR_UNIQUE_CUSTOM_FIELD_NAME',
                'type' => 'button_group',
                'choices' => array(
                    '' => esc_html__( 'Choice 1', 'text_domain' ),
                    'option-2' => esc_html__( 'Choice 2', 'text_domain' ),
                ),
            ),
			// Checkbox Field
			array(
				'name' => esc_html__( 'Checkbox example', 'text_domain' ),
				'id'   => 'YOUR_UNIQUE_CUSTOM_FIELD_NAME',
				'type' => 'checkbox',
			),
			// Text Field
            array(
                'name' => esc_html__( 'Text Type', 'text_domain' ),
                'id'   => 'YOUR_UNIQUE_CUSTOM_FIELD_NAME',
                'type' => 'text',
            ),
			// HTML Field
            array(
                'name' => esc_html__( 'Text Type', 'text_domain' ),
                'id'   => 'YOUR_UNIQUE_CUSTOM_FIELD_NAME',
                'type' => 'text',
				'allow_html' => true,
            ),
			// Textarea Field
            array(
                'name' => esc_html__( 'Textarea Type', 'text_domain' ),
                'id'   => 'YOUR_UNIQUE_CUSTOM_FIELD_NAME',
                'type' => 'textarea',
            ),
			// URL Field
            array(
                'name' => esc_html__( 'URL Type', 'text_domain' ),
                'id'   => 'YOUR_UNIQUE_CUSTOM_FIELD_NAME',
                'type' => 'url',
            ),
			// Date Field
            array(
                'name' => esc_html__( 'Date Type', 'text_domain' ),
                'id'   => 'YOUR_UNIQUE_CUSTOM_FIELD_NAME',
                'type' => 'date',
            ),
			// Upload Field
            array(
                'name' => esc_html__( 'Upload Type', 'text_domain' ),
                'id'   => 'YOUR_UNIQUE_CUSTOM_FIELD_NAME',
                'type' => 'upload',
                'return' => 'id', // this is the value that will be saved, id or url (we recommend always storing attachment ID's)
                'media_type' => 'image', // image, pdf, video, audio - important to define this so it renders nicely
            ),
			// Group Field
            array(
                'name' => esc_html__( 'Group/Repeater Type', 'text_domain' ),
                'id'   => 'YOUR_UNIQUE_CUSTOM_FIELD_NAME',
                'type' => 'group',
				'group_sort' => true, // allow drag/drop sorting of the fields
				'group_title' => esc_html__( 'The Title for each group item (optional)', 'text_domain' ),
                'fields' => array(
                    // Add your repeater fields here
                ),
            ),
        )
    ) );
}
add_action( 'admin_init', 'my_register_custom_metaboxes' );
For each metabox you want to add you will create a new instance of the WPEX_Meta_Factory class and pass an array of your parameters.
The following field types are available:
- text
- textarea
- date
- url
- number
- iframe
- html
- wp_editor
- select*
- multi_select*
- button_group*
- checkbox
- color
- icon_select
- upload
- group
- select_template
* Field types that display options must include a “choices” or “options” parameter that either returns an array of choices or a callback function that returns the array of choices in the format value => label.
Custom Field Parameters:
Here is a table of the various field parameters that you can use in the array:
| Parameter | Supported Type | Description |
|---|---|---|
id | all | The ID or Key used to store the custom field in the database. |
name | all | Name displayed in the admin next to the field. |
desc | all | Description displayed in the admin next to the field. |
public | all | Set to true in order to add the field to the list of custom field choices when displaying meta data via theme elements. |
type | all | The custom field type. See the list of available types above. |
allow_html | text | Set to true for the text field type to allow HTML input. False by default. |
choices | select, multi-select, button_group | Used to define the array of choices for your field. |
render_callback | all | Can be set to define a callback function to use for rendering the field value on the frontend for Total specific elements. Important: If you want to use this parameter you must register your custom fields on the ‘init’ hook rather than the ‘admin_init’ hook. |
conditional_logic | all | Allows you to show/hide the field. conditional logic guide |
min | number, date | Define the min attribute for the field input. |
max | number, date | Define the max attribute for the field input. |
step | number | Define the step attribute for the field input. |
placeholder | text, url, upload | Define the placeholder attribute for the field input. |
maxlength | text, url | Define the maxlength attribute for the field input. |
rows | textarea, html | Define the rows attribute for the textarea field. |
required | text, date, url, upload | Set to true if the field is required. |
return | upload | Set to either ‘id’ or ‘url’ to define how the field should be stored. We recommend always defining and setting the return parameter to ‘id’ (the default is url). |
media_type | upload | Used for the upload field type to define the media type for the field. Options are image, video, font, audio or pdf. |
show_input | upload | Whether to display the input field or not. By default it will display when return is set to ‘url’. |
preview | upload | Set to true to display info about the saved field. This parameter is true by default when the return parameter is set to ID but false when the return parameter is empty or set to url. |
media_buttons | wp_editor | Set to true to enable the media buttons for the wp editor field. |
quicktags | wp_editor | Set to true to enable quick tags for the wp editor field. |
teeny | wp_editor | Set to true to enable teeny mode for the wp editor field. |
group_sort | group | Set to true to allow group sorting. It’s enabled by default. |
group_title | group | Custom title to add to each group item. |
fields | group | Array of fields for the group field type. |
Conditional Logic
If you wish to show/hide fields based on the values of other fields you can via the conditional_logic parameter. A sample condition would look like this:
'conditional_logic' => [ 'field_id_to_check', 'operator', 'value_to_check' ]Allowed Operators: =, !=, <, >, <=, >=, contains, not_contains
Checking empty values: To check for empty values set the last argument to an empty string:
'conditional_logic' => [ 'field_id_to_check', '!=', '' ]Checkbox logic: To check if a checkbox is checked or not use true or false for the value:
'conditional_logic' => [ 'checkbox_id_to_check', '=', 'true' ]Checking multiple values: You can pass an array to check for multiple “or” values.
'conditional_logic' => [ 'field_id_to_check', '=', [ 'value_1', 'value_2' ] ]Multiple conditions: For multiple conditions use an array of arrays like such:
'conditional_logic' => [
    [ 'brand', '=', 'toyota' ],
    [ 'color', '!=', 'red' ],
]
Benefits of using the PHP Class
Here are the benefits of using the PHP class.
- No need for 3rd party plugins.
- The end user can’t modify the fields and mess things up.
- Easy to use; the theme handles the creation of the custom field UI and saving of the fields.
I would recommend adding the code for your custom fields in their own files; one file for each class to keep things neat and clean. And also loading these files only when is_admin returns true.